Get the perfect sun-kissed self tan while deeply nourishing your skin
Follow our tips to say goodbye to orange ankles, complicated routines, and offensive self tanner smells forever.
Your 3 step plan for the perfect self tan
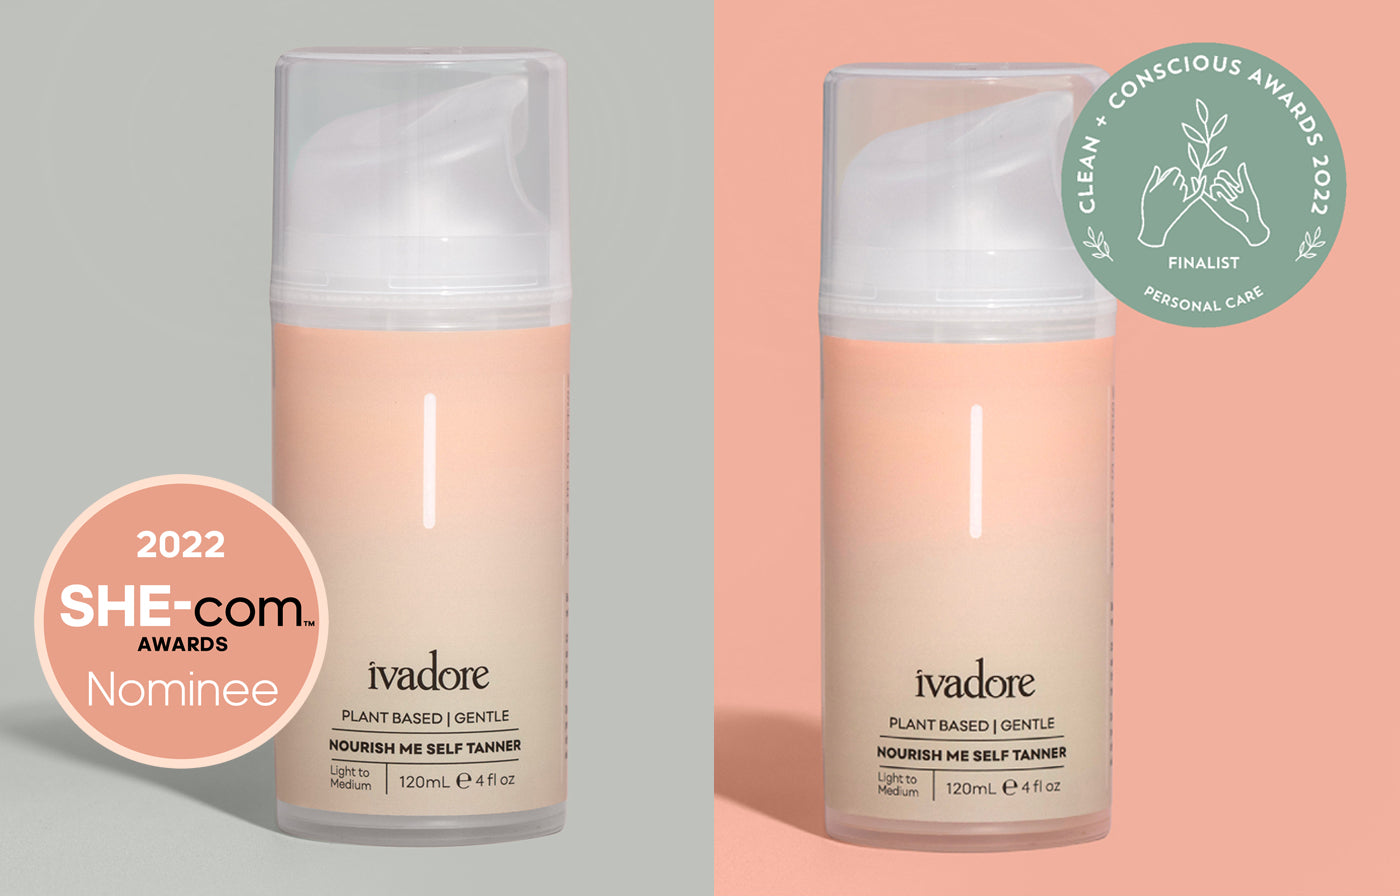
Our 3 step guide to applying self tan is all you need for a natural streak-free glow with our award winning
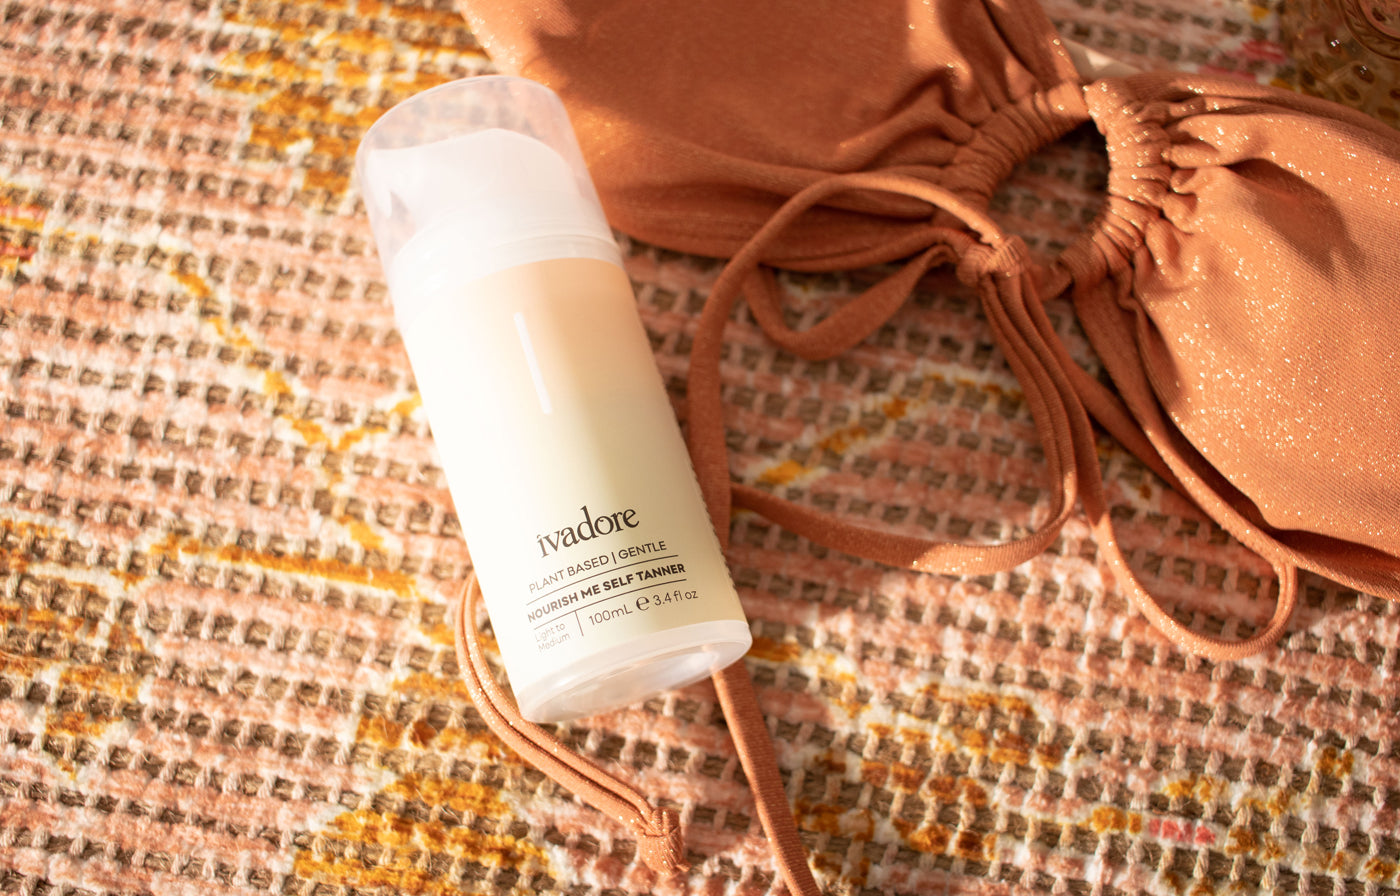
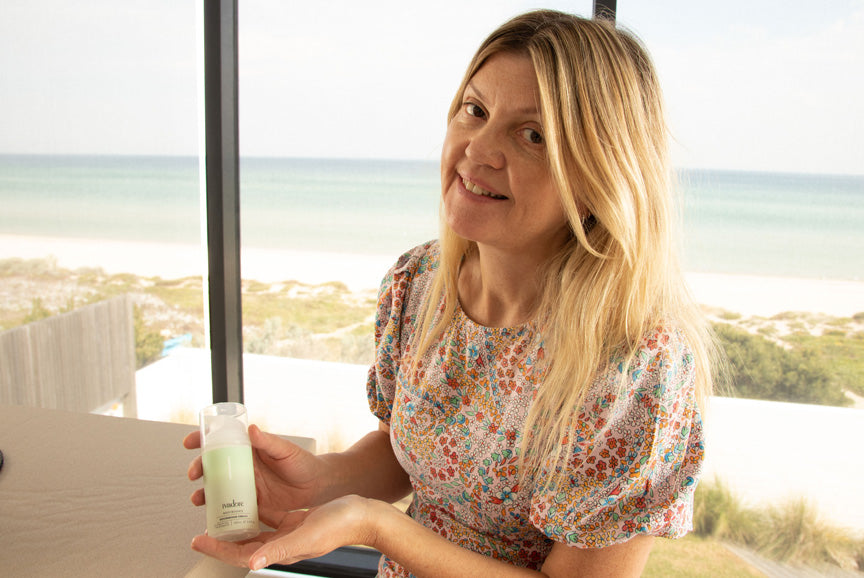
Nourish Me Self Tanner- a restorative skin treatment and tanner in one.
Step 1: Dry body brush or exfoliate for a smooth base
Self tan success starts with smooth skin. This helps the cream to create an even colour, but it also helps it stick around and not fade out in patches quickly. Prepare your skin by dry body brushing or use an exfoliate the day before application. Doing so buffs the skin’s surface to remove dry cells and leave behind a fresh, smooth base.
If you haven't tried our Body Bounce Exfoliating Gel & Tan Remover - check it out
here
Step 2: Apply self tanner to dry, cleansed skin before bed
After an evening shower, it’s tan time! With bare hands, pump the tanner onto your palm or directly onto your body and massage into dry skin in the same way you’d apply your usual moisturiser.
How much self tan should I use:
-
Legs from the knee down - 2 pumps per leg
-
Arms - 1 pump per arm
-
Chest and shoulders - 2 pumps
Ok, we can hear you saying …Hold on, do you moisturise before self-tanning?
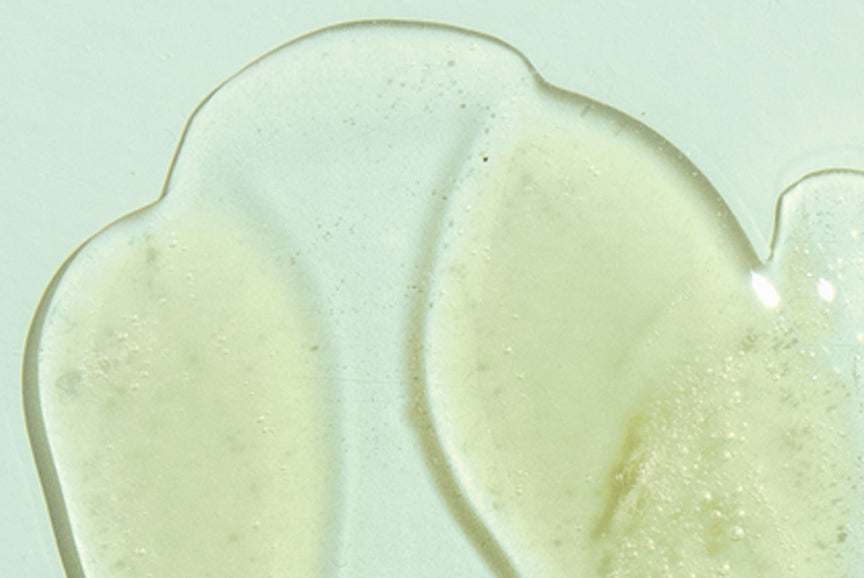
There’s no need for an extra moisturising step with our self tan formula - hooray! Enriched with nourishing ingredients including coconut, camellia, and raspberry seed oils, our Nourish Me Self Tanner acts as an amazing moisturiser on its own.
In fact, because it’s packed with powerful calming, moisturising, and skin barrier strengthening properties, it delivers a better result than regular body moisturising brands. And if you aren't across the line yet, in a recent survey we did 100% of those who trialled the tan said their skin felt softer after the 8 hour activation time.
The extra gentle formulation is also ideal if you suffer from dry skin, eczema, psoriasis or easily irritated skin. Some of our long term customers have found that this is the only tan that doesn't trigger their skin conditions. We’ve created it not only to tan beautifully but to condition and support your skin in one easy step.
Now…back to your glow up
Make sure you massage the cream in well and blend it out evenly on your hands, up your neck and on the tops of your feet.
Use sparingly on elbows, wrists, knees and ankles. Colour can ‘grab’ in these spots and end up looking blotchy.
Pro tip to avoid self tan streaks:
If you’re worried about streaks, mix 50:50 with your normal moisturiser when applying it in these areas.
Plan to tan your whole body? You might like to wear gloves to avoid hand stains. Applying all over takes longer than just your arms or legs and the colour may begin to develop on your palms.
Pro tip for self tan on pale skin:
Take it slow and start with a single layer to avoid going too dark. You can always apply another layer the following day.
When you’re done, wash your hands thoroughly with warm water and gentle soap if you didn’t use gloves. Focus on your nails and between your fingers and palms.
Wait up to 10 minutes for the tan to dry before slipping into your PJs. Your skin should feel relatively dry when its ready.
Step 3: Enjoy your beauty sleep while your tan activates
Can I sleep in self tanner? Absolutely! Our Nourish Me Self Tanner develops overnight while your skin is in repair mode.
All those skin loving ingredients activate while you sleep so you can wake up to the perfect glow and silky soft skin. Oh, and our formula won’t stain or leave sheets smelling like fake tan.
Pro tip for self tan maintenance:
From day 3 onwards, moisturise daily so that your skin remains hydrated and moisturised, this will keep your tan on longer and will also help it fade evenly.
Voila! Your Faux Tan Glow Tan is ready!


